Proper asphalt paving installation is what makes pavement last. From commercial parking lots to public roads, the way asphalt is installed affects how long it holds up and how well it performs.
When done correctly, asphalt can last 15 to 25 years with regular maintenance. But that only happens when every step in the process is done the right way. Skipping steps or rushing the job often leads to cracks, potholes, and expensive repairs.
That’s why experienced contractors follow a clear, step-by-step asphalt paving process. Knowing how it works helps you understand what quality paving should look like.
Why Proper Asphalt Installation Matters
The quality of your asphalt installation determines how well your pavement performs over time. A properly installed surface provides structural strength, manages water, and supports heavy traffic.
Structural Longevity
When asphalt is properly installed, it spreads weight evenly. This helps prevent stress points that lead to cracking, rutting, and surface failure.
Drainage Performance
Water is the number one cause of asphalt deterioration. Proper grading and drainage design ensure water flows away from the surface instead of pooling and weakening the base.
Safety and Load Capacity
Commercial pavement must handle constant vehicle traffic, including heavy trucks. Proper installation ensures the surface can support these loads without shifting or deforming.
Reduced Long-Term Repair Costs
When asphalt is installed correctly from the beginning, it minimizes the need for frequent repairs. Issues like potholes, alligator cracking, and surface breakdown are far less likely to occur.
Working with an experienced contractor who follows a structured process helps protect your investment and extends the life of your pavement.
Understanding the Asphalt Pavement Installation Process
Every successful asphalt project follows a series of carefully planned steps. Each phase builds on the one before it, creating a strong and stable pavement system.
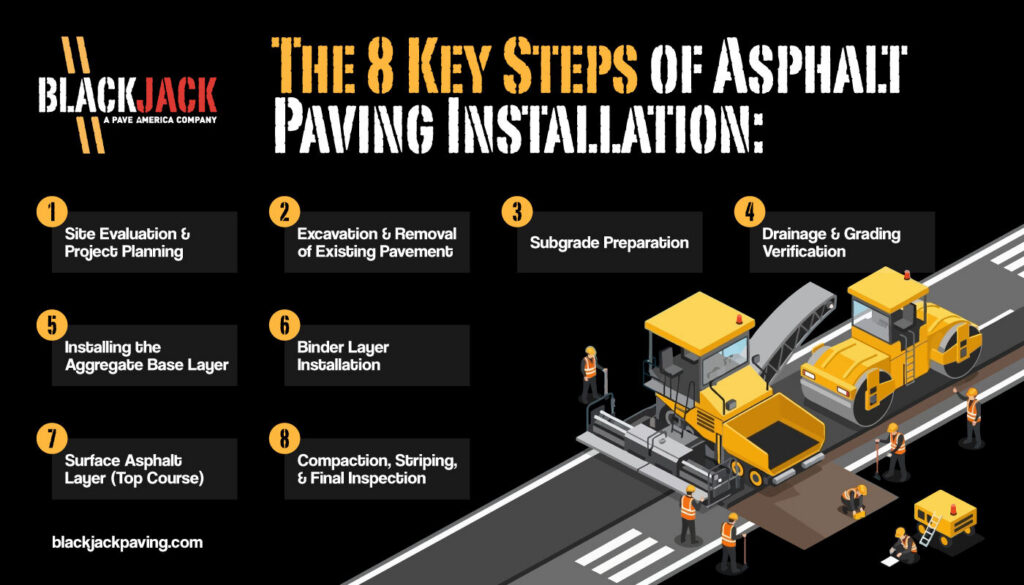
The 8 Key Steps of Asphalt Paving Installation:
- Site Evaluation and Project Planning
- Excavation and Removal of Existing Pavement
- Subgrade Preparation
- Drainage and Grading Verification
- Installing the Aggregate Base Layer
- Binder Layer Installation
- Surface Asphalt Layer (Top Course)
- Compaction, Striping, and Final Inspection
Step 1: Site Evaluation and Project Planning
All asphalt paving projects start with a detailed site evaluation. This step helps contractors understand the conditions that will affect pavement performance.
Key factors include:
- Soil conditions: Weak or unstable soil must be addressed before paving begins.
- Traffic loads: Heavier traffic requires a stronger pavement structure.
- Drainage planning: Water flow must be carefully managed to prevent damage.
- Layout and grading design: Proper slopes ensure effective runoff.
Planning ahead helps prevent problems later and ensures the pavement is built to last.
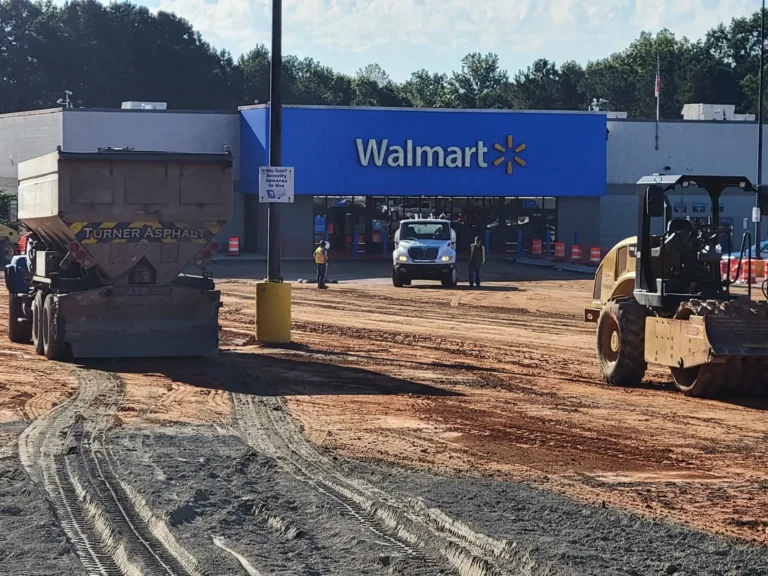
Step 2: Excavation and Removal of Existing Pavement
Before new asphalt can be installed, the existing surface must be removed and the site prepared. This step creates a clean base for the new pavement.
This process includes:
- Removing old asphalt or concrete
- Clearing debris and unstable materials
- Leveling the area with rough grading
In many cases, contractors use milling techniques to remove damaged asphalt while preserving usable layers beneath. Understanding the difference between removal methods can help property owners choose the right approach, especially when comparing options like milling vs paving.
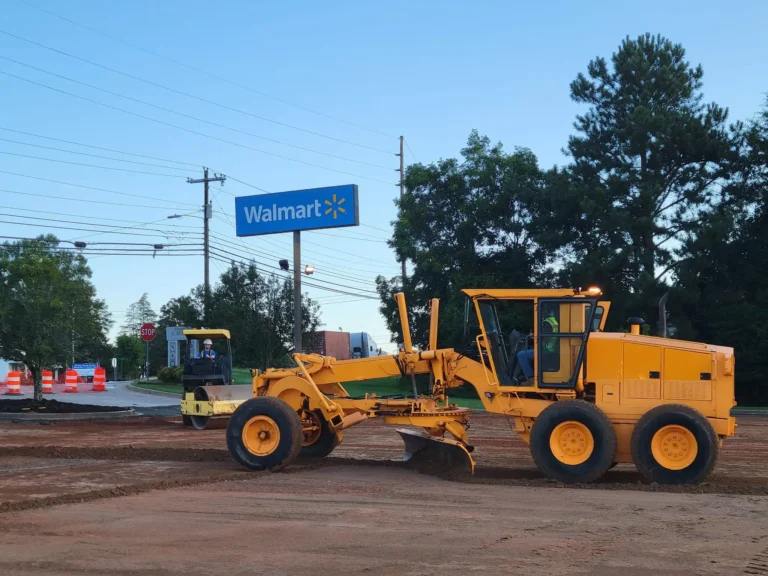
Step 3: Subgrade Preparation
The subgrade is the soil layer beneath the pavement, and it plays a major role in long-term performance. During this step, contractors compact the soil, stabilize weak areas, and adjust grading for proper support.
If the subgrade is not prepared correctly, the pavement can crack or sink over time. A strong foundation is key to long-lasting asphalt.
Step 4: Drainage and Grading Verification
Once the subgrade is prepared, contractors verify that the site has proper drainage and grading.
This includes:
- Confirming slopes for water runoff
- Adjusting elevations as needed
- Preventing low spots where water can collect
Water is the leading cause of asphalt damage. When water seeps into the pavement structure, it weakens the base and accelerates deterioration. Proper drainage design protects the pavement from long-term damage and helps extend its lifespan.
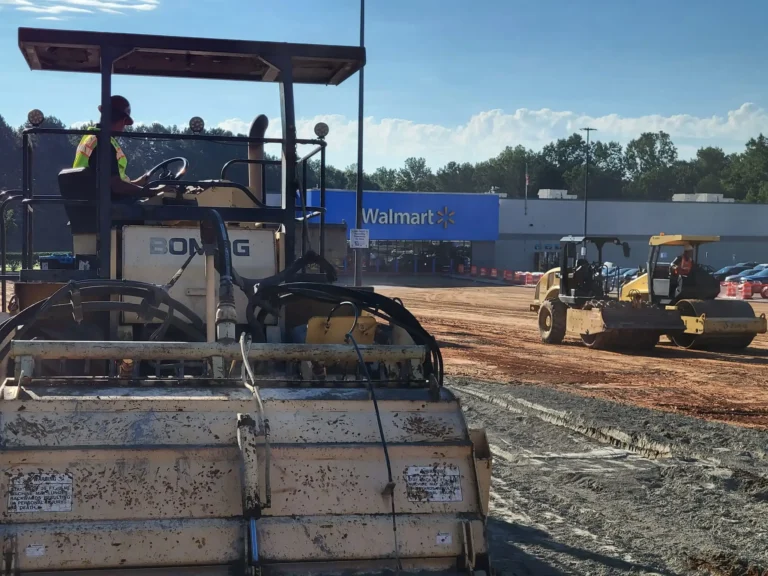
Step 5: Installing the Aggregate Base Layer
The aggregate base layer provides structural support for the entire pavement system. This layer typically consists of crushed stone and is designed to help distribute weight evenly and improve stability.
In areas with clay soil, like Georgia, this step is especially important. Clay expands when wet and shrinks when dry, which can cause pavement to shift. A strong aggregate base helps prevent this.
Step 6: Binder Layer Installation
After the base layer is in place, the binder layer is added. This is the middle layer of the pavement. The asphalt binder layer is made of larger aggregate mixed with asphalt. It adds strength and flexibility to the pavement.
This layer helps:
- Support heavy traffic
- Spread weight across the base
- Connect the base layer to the surface layer
Think of the binder layer as the backbone of the pavement. Without it, the surface can crack or wear down much faster.
Step 7: Surface Asphalt Layer (Top Course)
The top layer is what you see and drive on every day. It’s designed to be smooth, durable, and weather-resistant.
This layer:
- Creates a smooth driving surface
- Protects the layers underneath
- Provides traction for vehicles
- Resists damage from sun, rain, and traffic
Different projects may use different asphalt mixes depending on the needs of the site. You can explore different types of asphalt to see how materials vary.
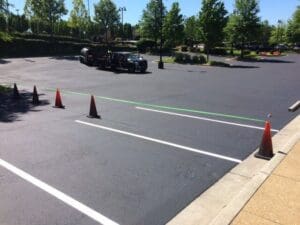
Step 8: Compaction, Striping, and Final Inspection
The final step ensures the pavement is ready for use.
This includes:
- Compaction: Heavy rollers compress the asphalt to remove air pockets and increase strength.
- Striping: Parking lines, ADA markings, and traffic guides are added.
- Final inspection: The contractor checks for smoothness, drainage, and overall quality.
Proper compaction is one of the most important parts of the asphalt installation process. If the asphalt is not compacted correctly, it can lead to early failure, such as cracking or potholes.
Common Asphalt Installation Mistakes to Avoid
Even when the right materials are used, mistakes during the asphalt paving installation process can lead to early failure. Knowing what to watch for can help property owners avoid costly issues down the road.
- Poor Drainage Design
If water is not directed away from the pavement, it will seep into the base and weaken the structure over time. This often leads to cracking and potholes. - Weak or Inadequate Base Layer
The base layer supports everything above it. If it is too thin or not properly compacted, the pavement will shift, settle, and fail prematurely. - Improper Compaction
Without proper compaction, air voids remain in the asphalt. This reduces strength and allows water infiltration, which accelerates deterioration. - Thin Asphalt Surface
A surface layer that is too thin cannot handle traffic loads effectively. This often results in faster wear and surface damage. - Skipping Subgrade Testing
If soil conditions are not properly evaluated, hidden weaknesses can cause structural issues that appear months or years later.
When these issues occur, they often lead to repairs that could have been avoided with proper installation. In many cases, ongoing issues may require professional asphalt repair to restore the surface.
How to Tell If an Asphalt Paving Contractor Is Doing the Job Correctly
Choosing the right contractor is just as important as understanding the process itself. A quality contractor will follow proven methods and maintain clear communication from start to finish.
Here are signs that asphalt paving installation is being done correctly:
- Proper Grading and Drainage
The site is sloped correctly, and water flows away from the pavement without pooling. - Adequate Base Depth
The contractor installs a strong aggregate base that matches the project’s traffic demands. - Correct Asphalt Thickness
Each asphalt layer is installed at the proper depth to support long-term performance. - Use of Professional Compaction Equipment
Rollers are used throughout the process to achieve proper density and durability. - Clear Project Timeline and Communication
The contractor explains each step and keeps the project on schedule.
A reliable contractor focuses on long-term results, not just completing the job quickly. This approach helps reduce maintenance costs and extend pavement life.
Professional Asphalt Pavement Installation in Georgia
A successful asphalt paving installation starts with the right process and the right team. From planning and grading to final compaction, every step plays a role in how long your pavement will last.
At Blackjack Paving, we provide full-service asphalt paving solutions for commercial properties across Georgia. Our team handles everything from parking lot installation to large-scale municipal paving projects, using proven methods and in-house crews to deliver consistent results.
We also offer comprehensive paving services designed to support your pavement at every stage, including long-term parking lot maintenance and protective sealcoating solutions to extend pavement life.
If you’re planning a new project or upgrading an existing surface, working with an experienced contractor can make all the difference. Contact our team today to get started and ensure your asphalt pavement is built to last.